Professional and correct metal lath installation is an key factor for it to work well. How to install metal lath properly and quickly? Here we list the detailed installation steps to help you finish your metal lath installation in a correct and simple way.

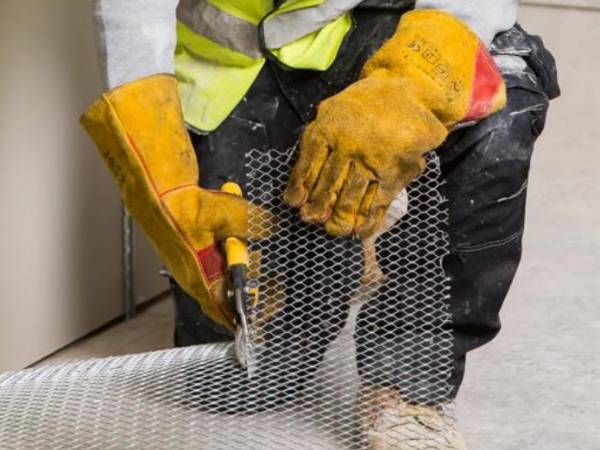
Before installation, cut the metal lath with a pair of scissors or a saw if necessary. As the edges of metal lath are sharp, a pair of gloves should be worn when cutting and handling.

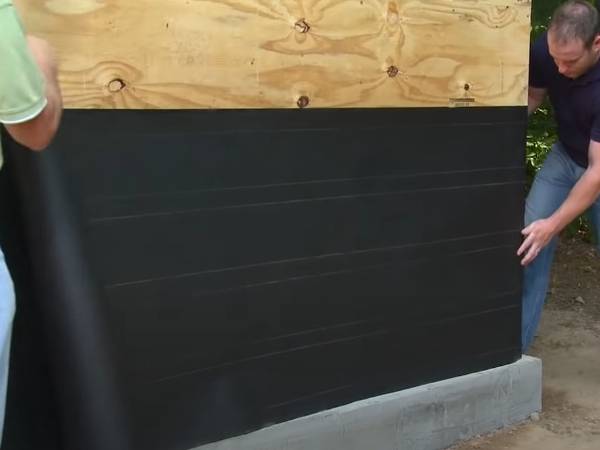
The first thing that you are going to do in preparation is to get your moisture proof barrier installed. This creates a waterproof area to work with. With this barrier, you will be able to no longer have to worry about wood decay.
The waterproof seams shall overlap at least 2 inches to prevent moisture from seeping in.

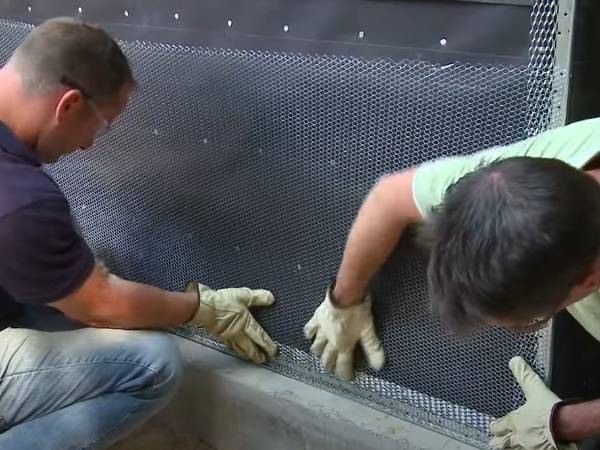
Roll out the metal lath over the surface of the wall, starting at the bottom and moving upward. Stretch the lath tightly and attach it to the wall by hamming in 2" galvanized nails through the lath and into the wall every 6" along the edge of the lath and every 12" in a grid for the middle section of the lath. When this piece of metal lath installation is finished, continue to lay anther piece of metal lath upward and overlap all seams by 4". Repeated the installation steps aforesaid until the wall is fully covered by metal lath.

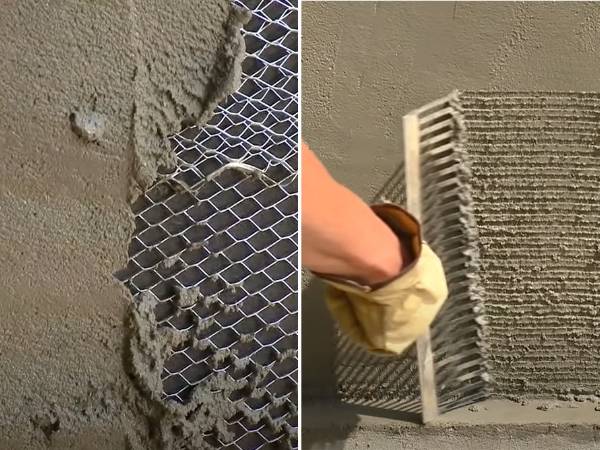
Spread a 1/4" thick layer of mortar on the metal lath with a trowel. Spread the mortar evenly over all areas covered with metal lath. Let the mortar dry for 30 minutes, then scrape the entire mortar surface with a metal rake, covering the surface with horizontal and vertical scratches to increase future mortar adhesion. Let the mortar to dry for 48 hours. The metal lath installation is finished.